Click Configure from the left navigation bar.
Under Entities, click Normalization Policies.
Select LogPoint machines to create a normalization policy. You can select multiple machines of different pools.
Click Next.
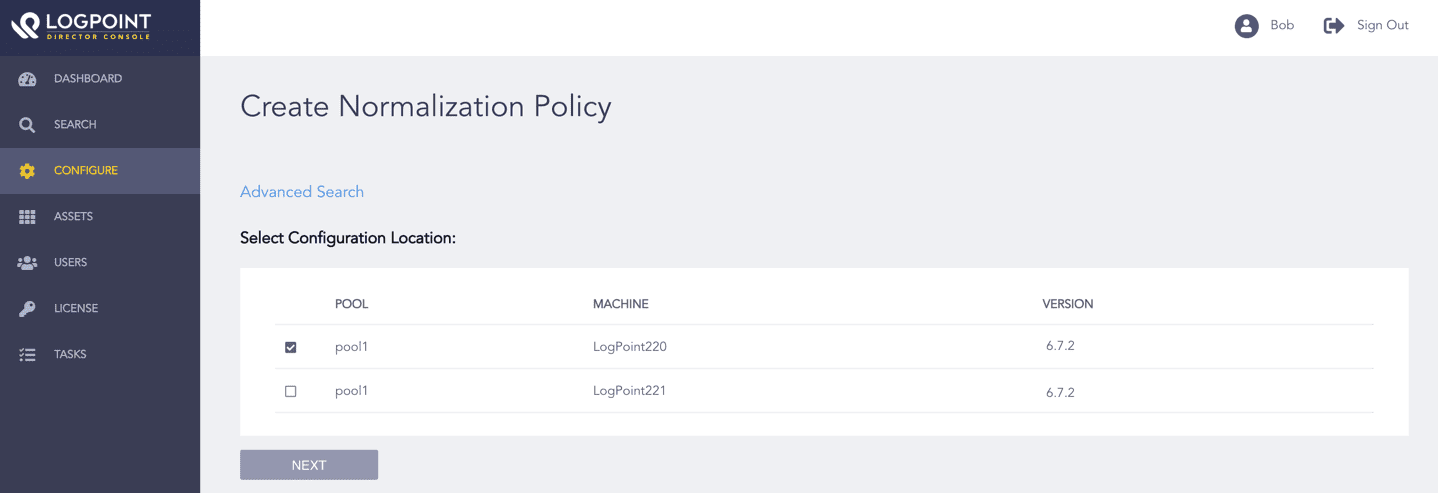
Selecting LogPoint Machines
Enter a Name.
Select MicrosoftDefenderATPCompiledNormalizer from the list of compiled normalizers, and click Add to List.
Click Next.
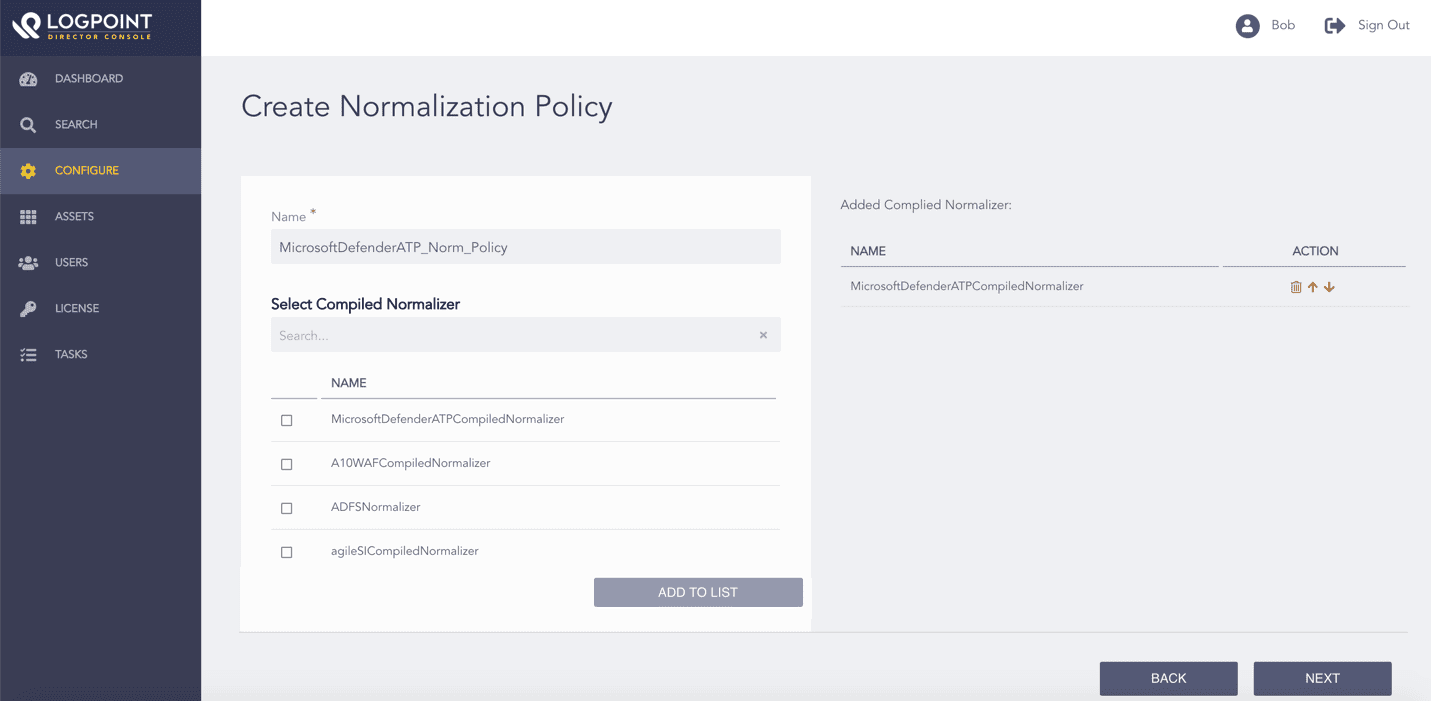
Adding a Normalization Policy
Review your changes. You can go Back to make any changes if necessary.
Note
Click Download Report to save the summary of the task in PDF.
Click Finish and click OK to confirm.
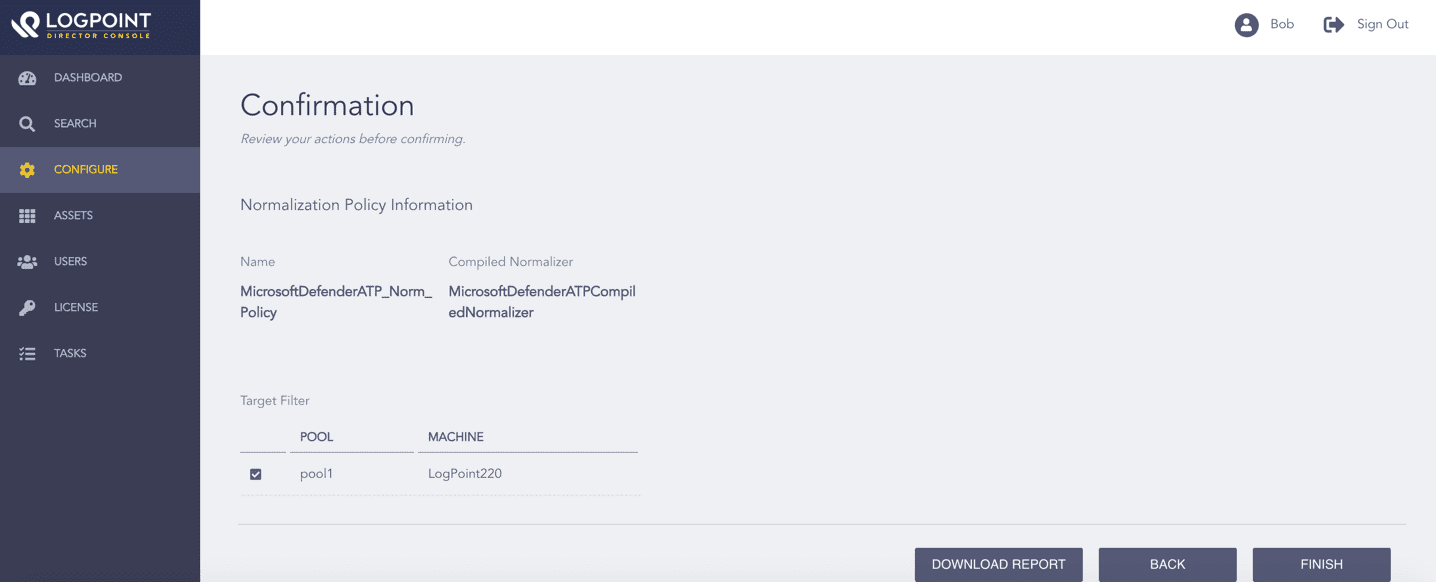
Confirming the Changes
Click Configure from the left navigation bar.
Under Settings, click Plugins.
Select Microsoft Defender ATP Fetcher from the Select Plugin Type drop-down.
Select LogPoint machines to configure the Microsoft Defender ATP Fetcher. You can select multiple machines of different pools where the Microsoft Defender ATP application is installed.
Click Next.
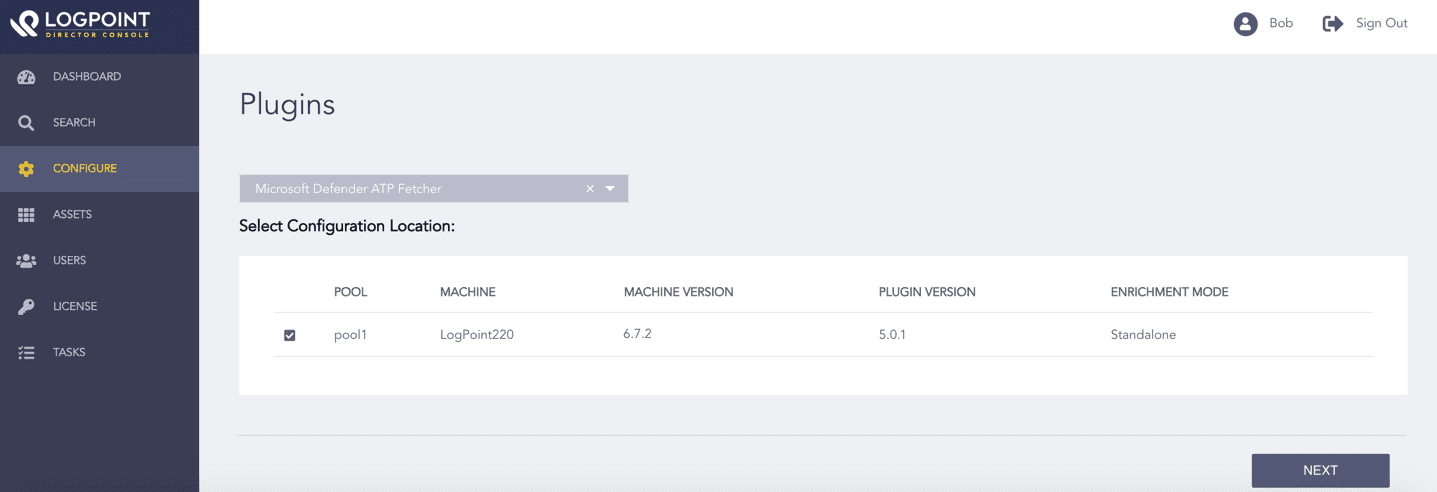
Selecting LogPoint Machines
Select Create.
Enter the Client ID, which is the application ID provided by the Azure Active Directory to the registered clients.
Enter the Client Secret, which is a secret password created for the application.
Enter the Azure Active Directory Authorization server URL.
Enter the Events URL. The application fetches logs of the specified event.
Select the Fetch Interval in minutes.
Select a Processing Policy that uses the previously created normalization policy.
Select the Charset.

Configuring the Microsoft Defender ATP Fetcher
Select Enable Proxy if you use a proxy server.
In the Proxy Configuration section:
15.1 Enter the IP address and the Port number of the proxy server.
15.2 Select HTTP or HTTPS protocol as required.
Click Next.
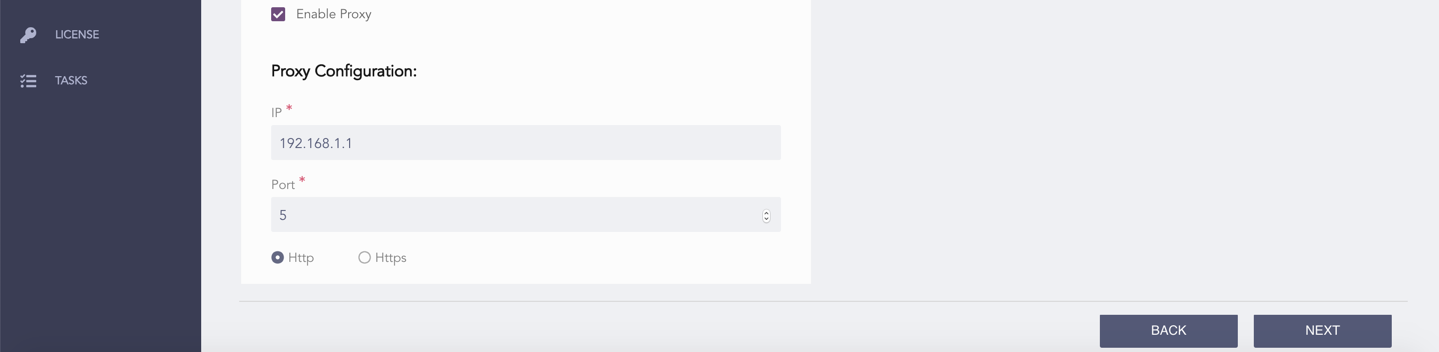
Enabling Proxy
Review your changes. You can go Back to make any changes if necessary.
Note
Click Download Report to save the summary of the task in PDF.
Click Finish and click OK to confirm.
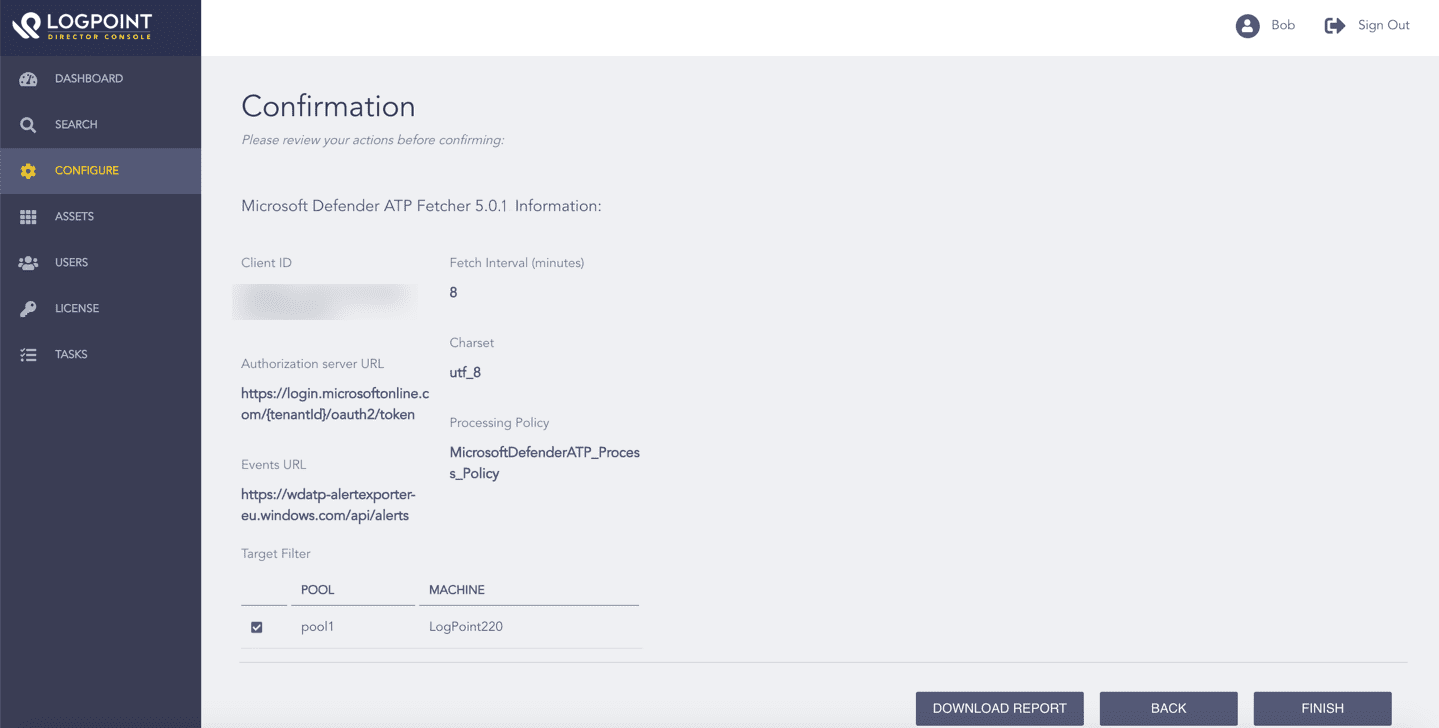
Confirming the Changes
Click Configure from the left navigation bar.
Under Settings, click Plugins.
Select Microsoft Defender ATP Fetcher from the Select Plugin Type drop-down.
Select LogPoint machines to configure the Microsoft Defender ATP Fetcher. You can select multiple machines of different pools where the Microsoft Defender ATP application is installed.
Click Next.
Selecting LogPoint Machines
Select List.
Note
The page lists only the configurations that are common to all the selected LogPoint machines.
Click the Edit icon for the configuration from the Action column.
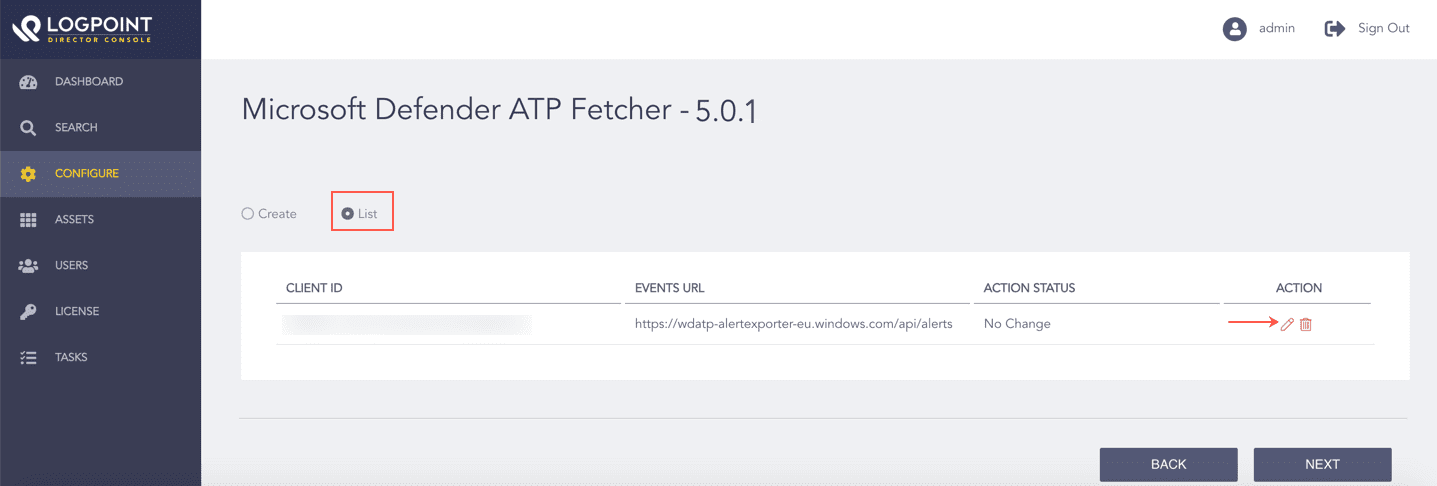
Listing the Microsoft Defender ATP Fetcher Configuration
Make the necessary changes and click Edit.
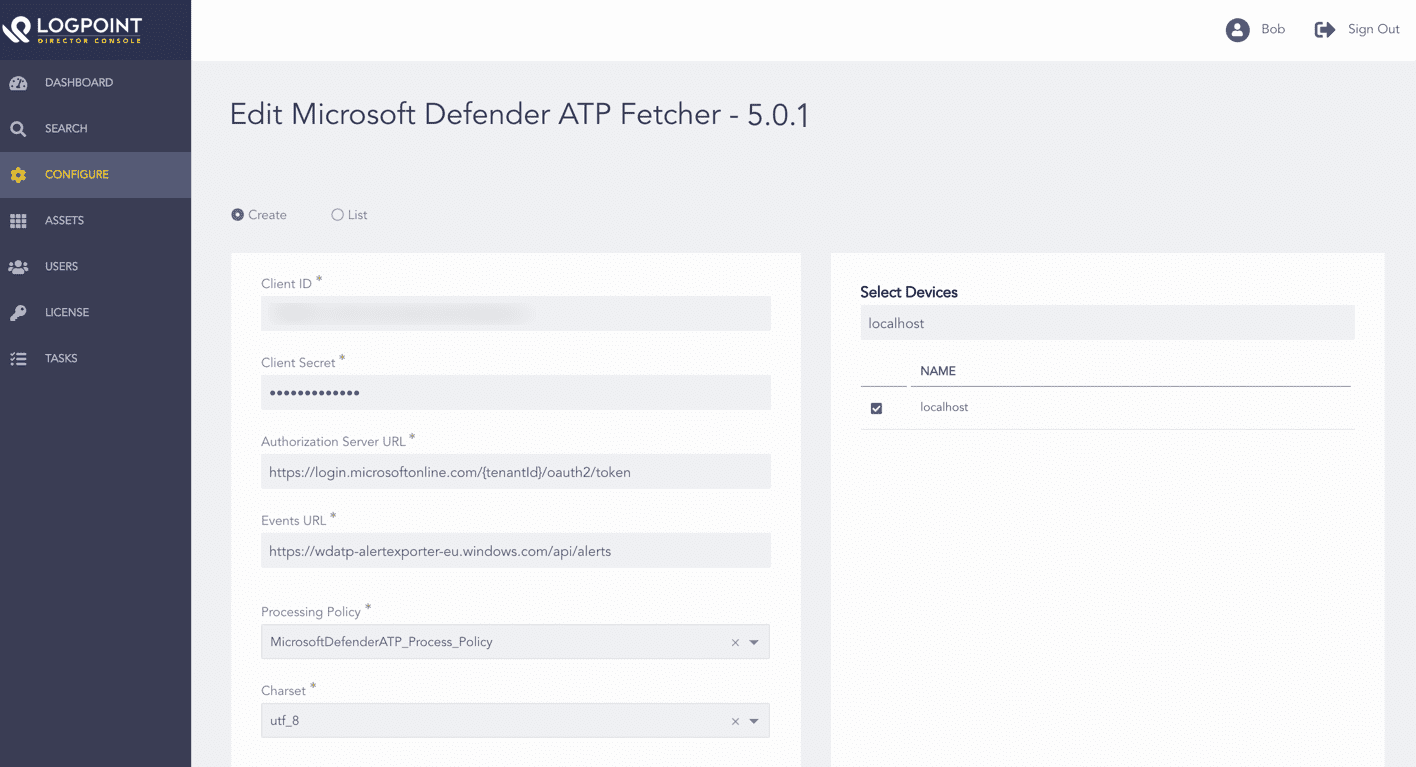
Editing a Microsoft Defender ATP Fetcher Configuration
The Action Status of the configuration changes to Changed. You can click the Undo icon from the Action column to undo the changes.
Click Next.

Verifying the Action Status
Review your changes. You can go Back to make any changes if necessary.
Note
Click Download Report to save the summary of the task in PDF.
Click Finish and click OK to confirm.

Confirming the Changes
Click Configure from the left navigation bar.
Under Settings, click Plugins.
Select Microsoft Defender ATP Fetcher from the Select Plugin Type drop-down.
Select LogPoint machines to configure the Microsoft Defender ATP Fetcher. You can select multiple machines of different pools where the Microsoft Defender ATP application is installed.
Click Next.
Selecting LogPoint Machines
Select List.
Note
The page lists only the configurations that are common to all the selected LogPoint machines.
Click the Delete icon for the configuration from the Action column.
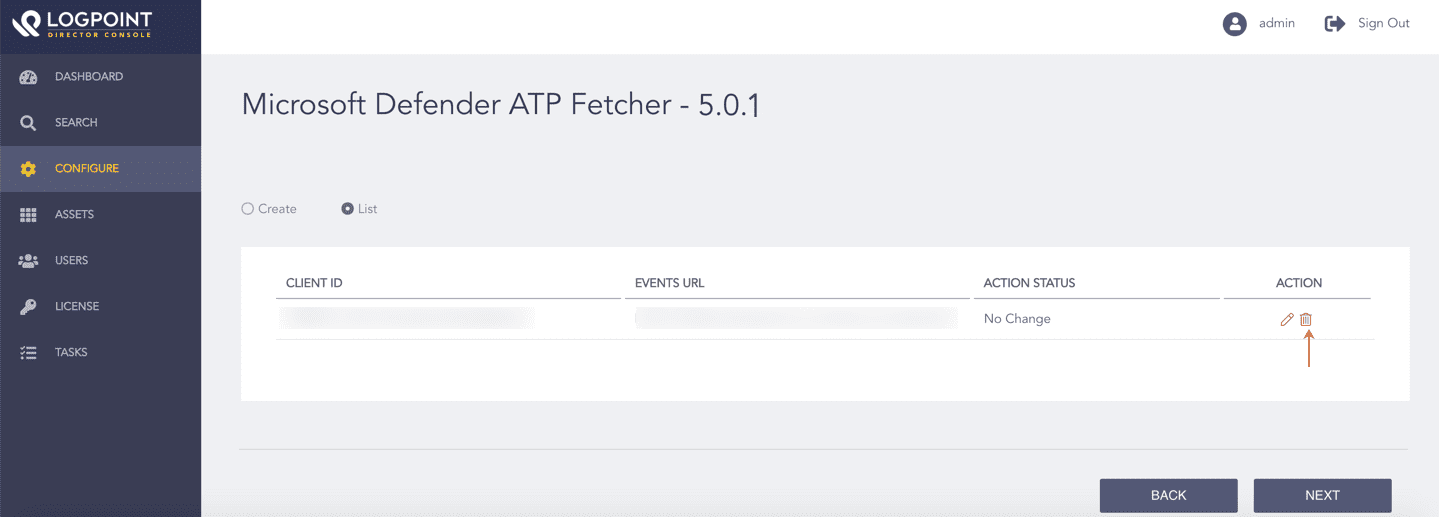
Listing the Microsoft Defender ATP Fetcher Configurations
The Action Status of the configuration changes to Delete. You can click the Undo icon from the Action column to undo the deletion.
Click Next.

Verifying the Action Status
Review your changes. You can go Back to make any changes if necessary.
Note
Click Download Report to save the summary of the task in PDF.
Click Finish and click OK to confirm.

Confirming the Changes